Wednesday, April 24, 2013

Peacocks On The Roof & The Old Avocado Tree

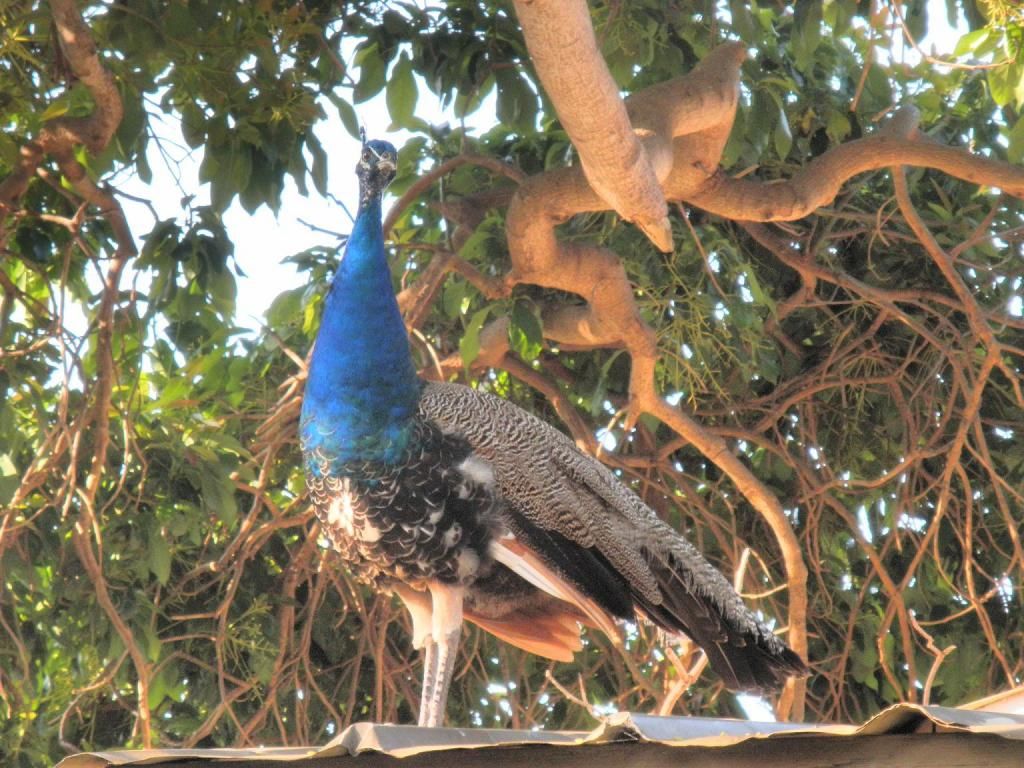
A young peacock on the roof of our lean-to shed. He and his wife visit almost every day because somebody throws yummy lay pellets up there. Isn't he just gorgeous? I particularly like his little white pantaloons. I am not sure when the tail feathers grow but will be sure to take pictures if I am here. Click pictures to embiggen.

The shed is attached to the garage directly opposite the deck and shaded by the same incredibly messy avocado tree. Not to say that this particular tree is messy, they are all just messy in general. The cycle is as follows starting in February:
  • All the leaves fall off. There are lots of leaves.
  • Flowers form, many flowers, then 98% of the flowers fall off, you can see flowers behind the peacocks head on the right.
  • New leaves grow and baby fruit. Shoots to make new branches.
  • All summer the tree provides dense shade which cools about half our house. Dried up branches & twigs fall constantly,together with immature fruit
  • Generally around November 'Green Bomb Season' starts. Large avocados hit the tin roof with a thunderous crash and rumble roll noisily down to drop with a thud on the ground.
  • We all eat avocados until we can't stand the sight of them. Humans, dogs, chickens, sheep and Mr Quigly the pig.


Y'all come back!


Monday, April 1, 2013

Design Wall April Fools Day

Saturday it was almost 70ยบ, I sat on the porch, the birds were singing and little green things were visible in the garden. Yesterday it snowed, and froze, hard.

Last week was the unpicking week. Don't ask .. a border I didn't like, another one that was so wavy it was seasick, a sashing strip that mysteriously moved 1/8" over and wasn't noticed until I went to press it.

Domiciles is done and on the design wall so I can admire it. See many other quilter's design walls at Patchwork Times.


No two house blocks are alike although some fabrics have been used several times. The blocks with tiny houses were done 'freestyle'. Some are short and stout, others tall and skinny. There is a barn with a tall grain bin. Very tiny scraps were used and that part was fun.

Only the bias binding to make and the backing to piece, then it goes into a bag to wait it's turn to be quilted.

Y'all come back!

Thursday, March 21, 2013

Reading

I love to read. At home I have an enormous collection of books. Almost every wall has a bookshelf, yes even in the bathroom. I am one of those people who will re-read a book, more than once.

In South Dakota I haven't stopped buying books but I treated myself to the most basic model Kindle and now I am reading more downloaded books than 'real' ones. I enjoy the convenience of being able to carry it in my purse. If I am waiting for Lori who likes to shop a lot more than I do, I can find a place to sit and read.

Although I am told repeatedly that this is a very mild winter it has been cold. Some days I only go outside because Boysie needs to 'go' outside. On days like that I read more.

This week I have finished reading The Whistling Season by Ivan Doig. It is a novel set in rural eastern Montana 100 years ago, written from the view point of Paul who is thirteen years old. I enjoyed it so much that I bought a paper copy, it is a keeper.You can read the publishers blurb and the reviews via the link above.

If I had to describe this book in one word I think it would be "evocative".

It is set in the era of homesteading prairie farmers and their children who attended a one-room schoolhouse. Although the family is not dirt poor their way of life was hard enough to make me very grateful for what we have today.

I am sure the quality of schools 100 years ago was dependent (as it is for the most part today) on the quality of teaching, but I can't help feeling that children were better educated in their eight years of compulsory schooling than many are today after twelve years. Where did we go wrong? What do you think?

Y'all come back!

Monday, March 18, 2013

On My Design Wall Today

This is "Cotton Garden" by Margaret Languedoc of the Pattern Basket. It is a UFO and I wrote about it previously here and here.

The pattern called for 30 blocks set 5 x 6 with 1-1/2" sashings between to yield a 56" x 74" quilt.This was a bit smaller than I wanted, so I planned changes, including upping the sashing width to 2".


It wasn't until after I had carefully set out all my blocks, adding an extra row of five that I realized I would then have a very long and still very skinny quilt. Ooops! Rearranged to a 6 x 6 setting my quilt will finish to at least 70" square, possibly larger depending on my border width choice.


I will finish the last three blocks today. Then I will wait for the batiks I ordered from Hancocks of Paducah to arrive so I can cut and piece the sashings and borders. See many other design walls at Patchwork Times

Y'all come back!

Friday, March 8, 2013

Take Care of the Pennies

Lori introduced me to the wonders of Clorox Kitchen spray last year. I love the stuff, it works miracles on stained tea cups, sanitizes surfaces and kitchen tools (I eat a lot of chicken) and is easy and convenient to use.

Unfortunately it is a bit expensive and I go through quite a lot. I have bought generic brands which seem to work just as well, but they are not exactly cheap either!

I was looking at yet another empty bottle and saw the ingredients. Basically water, chlorine bleach and a surfectant. Those ingredients are cheap.

Here is my recipe for home made bleach kitchen spray. It makes enough for one recycled 32oz spray bottle:
4 tablespoons bleach
1 tablespoon of liquid soap
Fill with cold water (hot water decreases efficiency of bleach) and use.

Caution! be sure your liquid soap is just soap. Adding anything containing ammonia to a chlorine product can produce harmful chlorine gas.

Approximate cost is about 6c a bottle based on $1.49 per gallon for bleach. Now that is some serious saving!

Y'all come back!

Thursday, March 7, 2013

No, You Will Not Sew

I had planned . . .


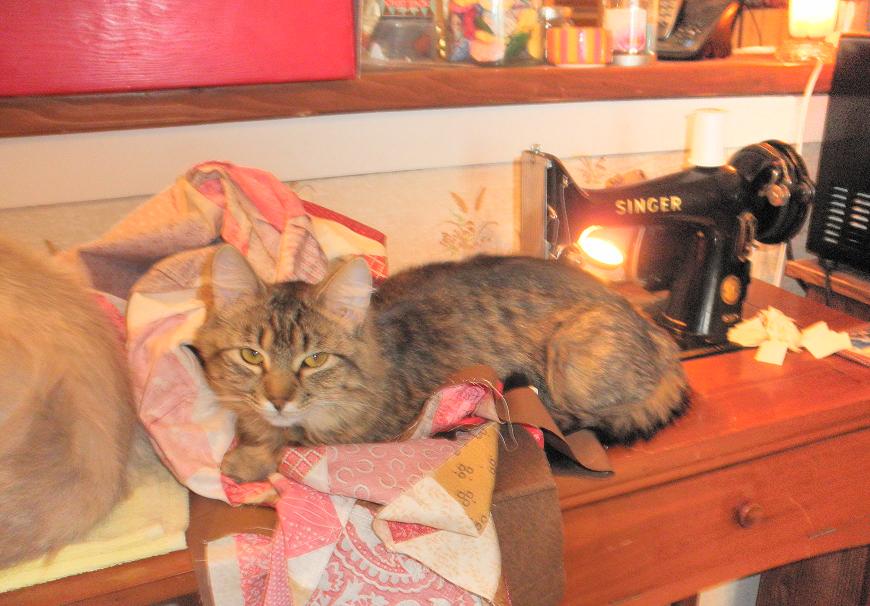
. . . but Bella had other plans.

Y'all come back!

Wednesday, February 27, 2013

Cotton Garden Process


In the process of making my Cotton Garden quilt blocks I have deviated from the instructions in the pattern a few times. The blocks are 8" which will finish to 7-1/2" in the completed quilt. There are 29 pieces per block and obviously most of them are quite small.

The pattern designer suggests drawing a diagonal line on each of the sixteen 1" squares which segment the petals, but with a square that small I chose to simply point and shoot stitch, saving the not inconsiderable hassle of drawing 480 pencil lines. If it is very 'off' I unpick and throw away the offending square! Yes I do, so far only once by the way and that was Kitty Bella's fault; which is a whole different post. Click images to embiggen.

The pattern calls for trimming off the corners 1/8" away from the resulting seam then pressing four of the segments in one direction and the other four the opposite way so they 'nest' when two of the sub-units are joined for each side of the block. Personally I find stitch and flip corners tend to warp even when I press (not iron) carefully. This might just be me but it is real. On these tiny corners I trim away the excess background fabric but leave the focus fabric of the corner intact, see the photo above. This gives me a guideline for trimming and to some extent helps stabilize the corner without adding much in the way of bulk. I then press that seam open.

I do not stress when my triangle seams don't meet perfectly (within reason,) anyone who has a need to inspect my quilt that closely is unlikely to ever have the opportunity to do so. In the immortal words of Auntie May "If you can't think of something nice to say just keep your mouth shut." Bless her heart.

Finally, when adding the joined 'petal segments' to the center square I press the first two sides in towards the square. This allows me to press the second pair and the corner square seams outwards, preventing a lump where the triangle seam and corner squares meet.

Y'all come back!